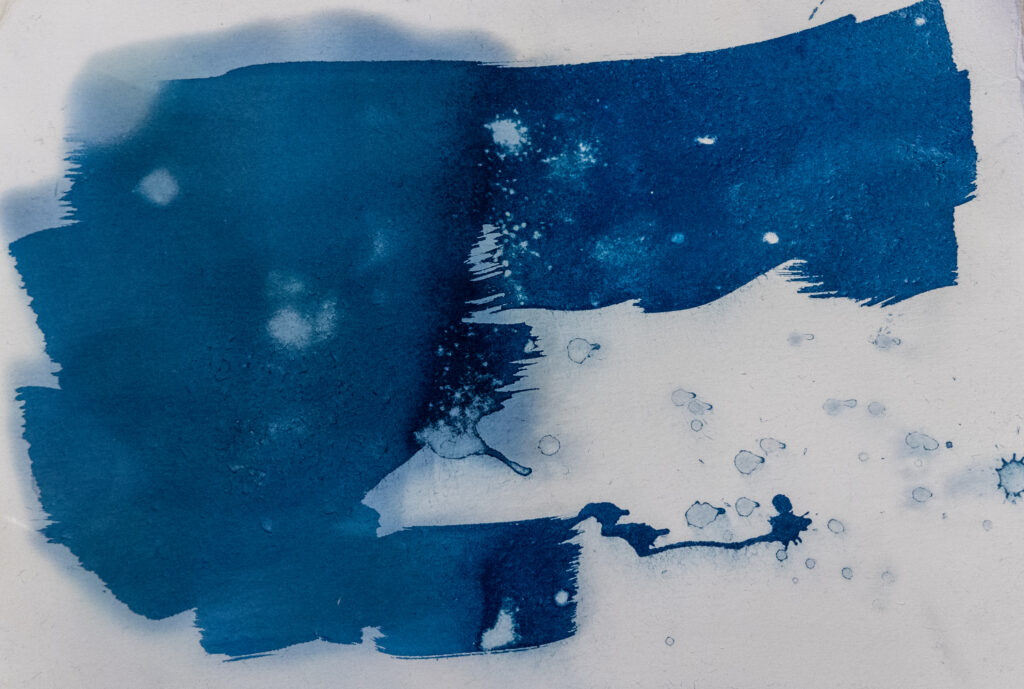
Cyanotypes are one of the earliest methods for putting a photographic image on paper. Sir John Herschel experimented in 1842 with a method of coating paper with light-sensitive iron salts, exposing the paper to sunlight, and then washing with water. The result was a cyanotype, named for one of the chemicals used, potassium ferricyanide, which is what gives the image the characteristic blue, or cyan color.
The first book of cyanotypes was done in 1843 by scientific illustrator Anna Atkins who recognized in this new process a better and more accurate way to capture detail in plants. This method is called a photogram, and is made by putting an object directly on the paper, then exposing it to sunlight. The object blocks the light, and so a perfect detailed silhouette of the material is created. If you replace the plant with a photographic negative, you get a positive blue photographic image.
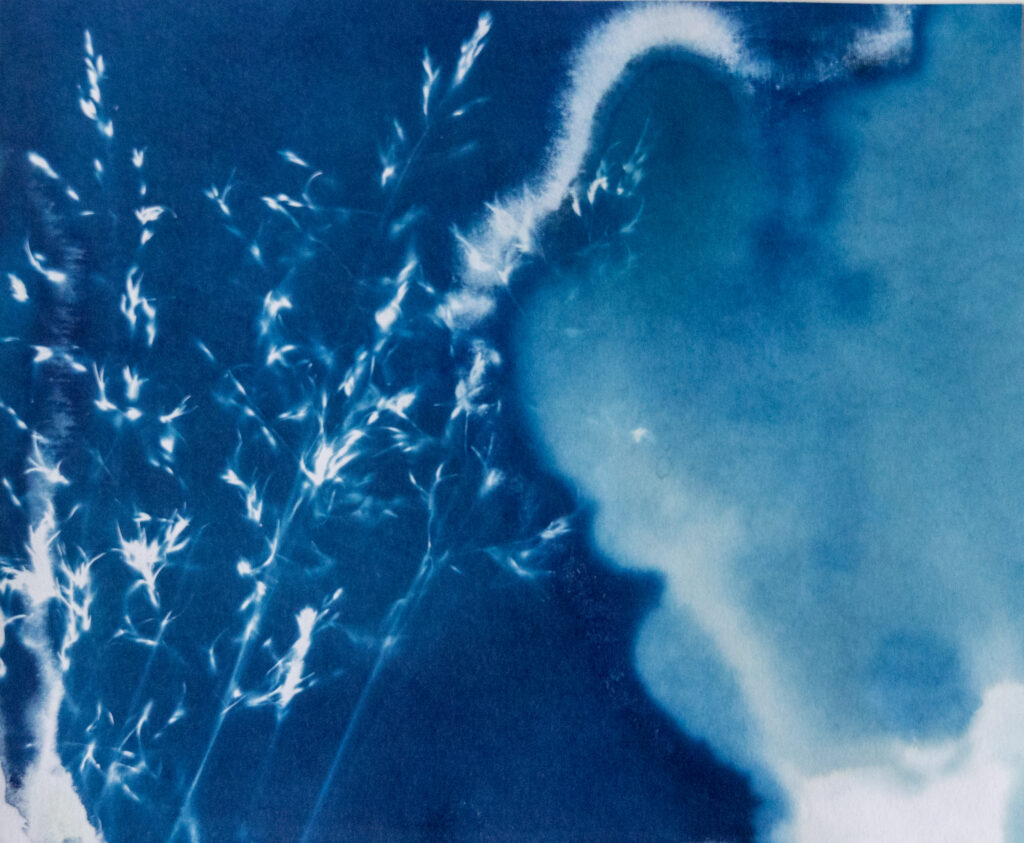
Cyanotypes were an extremely popular photographic method because they were easy to use. Many people, myself among them, have one or two cyanotype family photos from the late 1800’s. But they fell out of favor because not everything looks great in blue and other methods came into popularity as photographic technology expanded.
I was taught how to make cyanotypes at the Photographic Center Northwest in Seattle. My instruction was thorough and rigorous. I learned to test everything — the negatives were printed on a special film, the exposure times, the different kinds of paper. I learned to produce perfect photographic images from detailed negatives adjusted specifically for cyanotype printing. The goal was to make a perfect print.
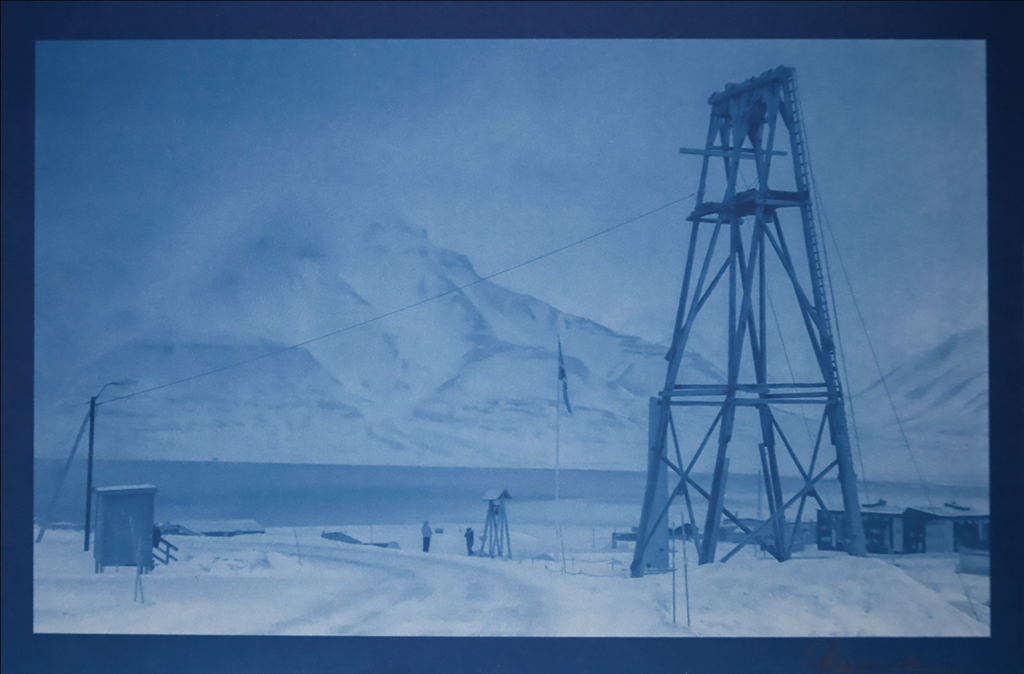
When I moved to Svalbard I brought almost everything with me to make cyanotypes. What I didn’t have was a good way to make film negatives, a darkroom, or a way to make them perfect, and that paralyzed me for years. I had been working more and more experimentally in my painting. Working without any preconceived image, letting the flow of paint and color direct the composition, one hour paintings where the goal was not to create an image, but merely to use a brush and paint for one hour. Disengaging from the requirement to make a specific image freed me, until I finally asked myself why cyanotypes had to be perfect.
And of course they don’t.
It took me awhile to get there, but then art is a process not a goal. When I was back in the US in July I had the lab I use make me a test series of film negatives. I bought a pack of that cheap pre-treated cyanotype paper that’s handed out to school children to make flower photograms, and experimented to see if I could get an image with these negatives which looked -nothing- like my finely crafted previous negatives.
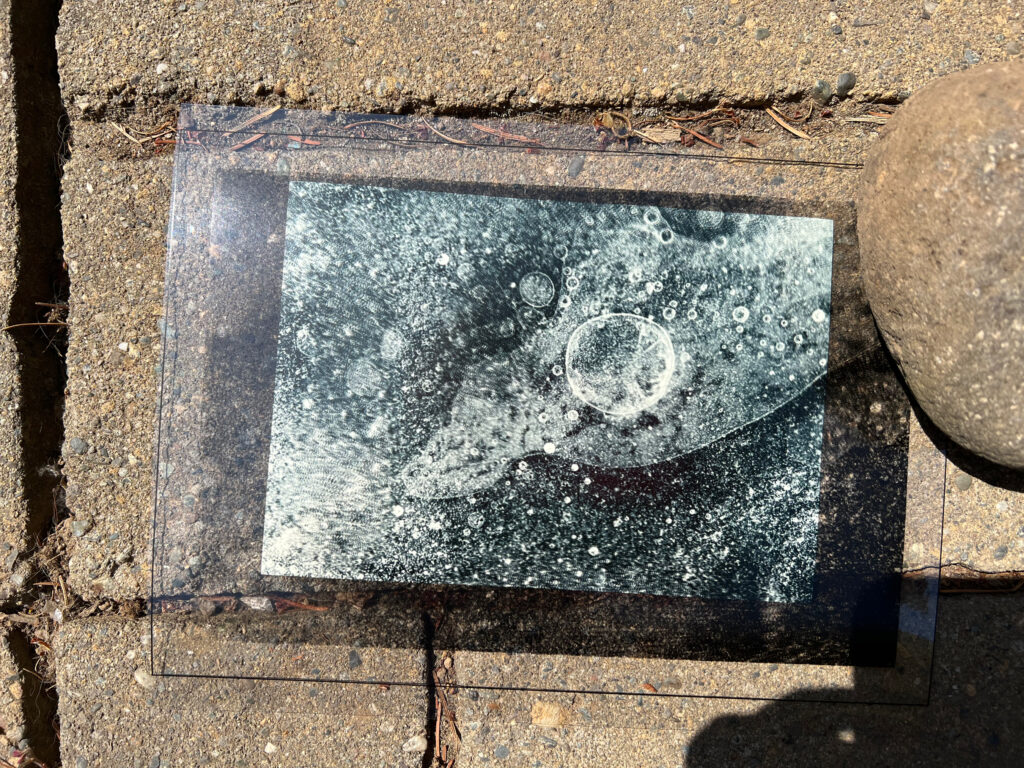
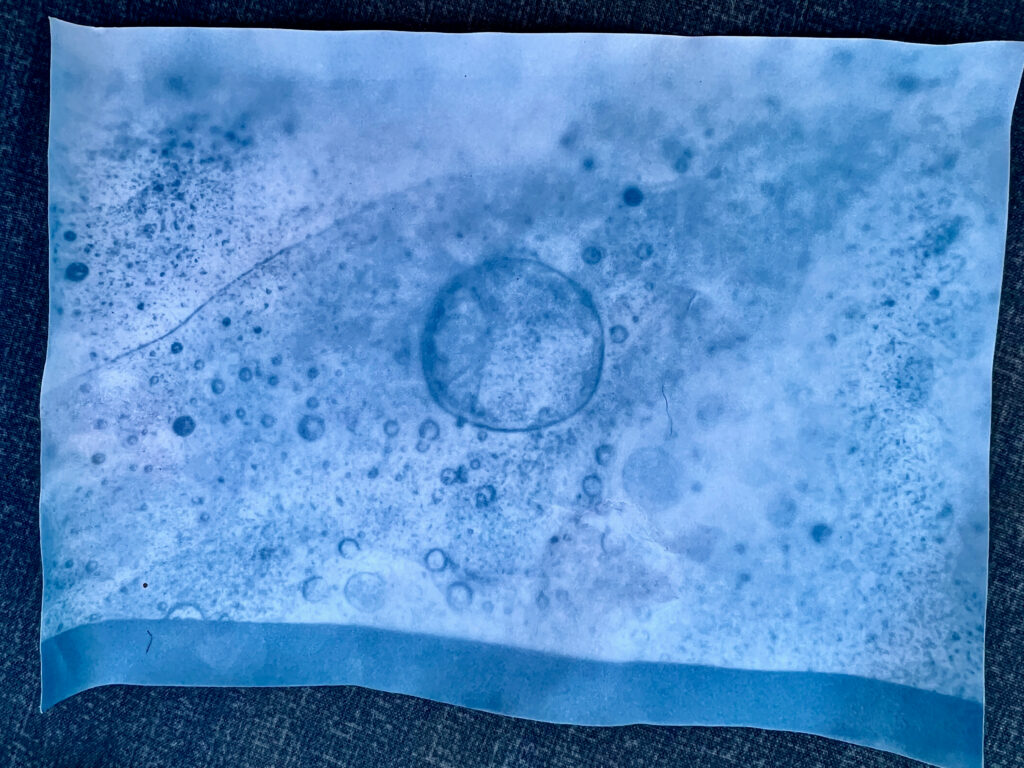
I returned to Longyearbyen in early August with ten film negatives, and a piece of heavy glass. (insert time passing in August while I was in Greenland.) When I returned from Greenland I began exposing film, under glass, in the daylight. I brought film with me on the Arctic Circle Residency and continued exposing the films in the very varied conditions on ship and shore as the light fled away, continuing to make cyanotypes outside until the light was too dim to register.
These images are imperfect, and I love them completely because now I see that those random changes caused by variations in light, in paper, and in the age of my now six year old chemicals as part of life. It’s OK to invite the unexpected into your work, and see what happens. Control is an illusion anyway, so why not enjoy the errata that we’re given?
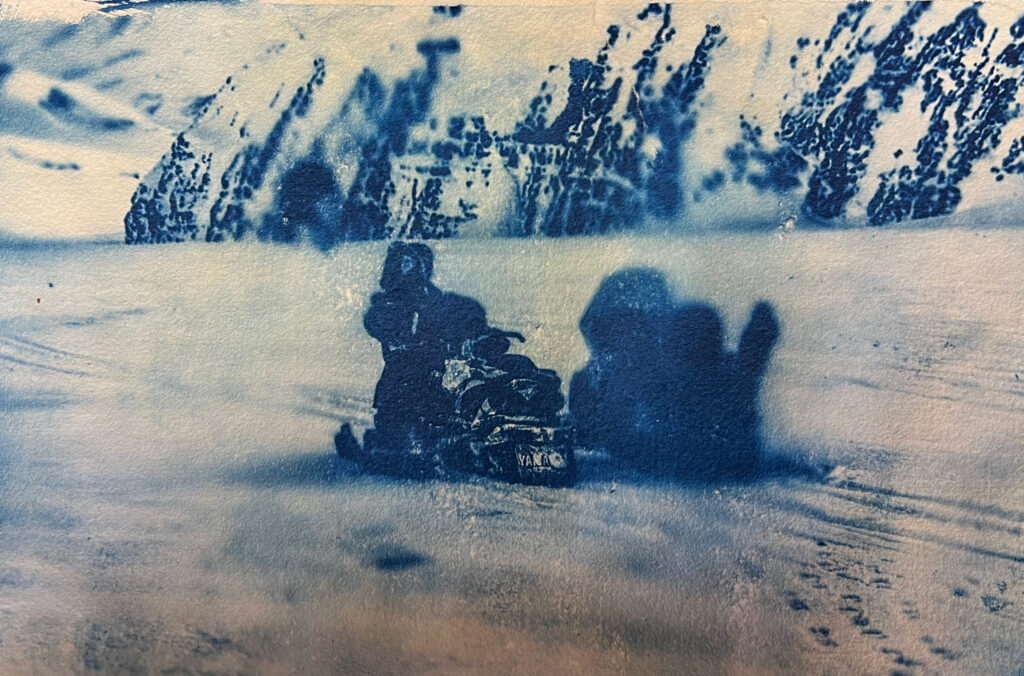
A life changing piece of information came my way on the Arctic Circle. One of the two other people who were also doing cyanotypes told me that you can make film negatives from paper prints. All you have to do is oil the paper. The ink isn’t affected and the paper turns transparent. Revelation!
I am now working with three types of negatives. Cyanotype and transparency films, and paper. I also have three types of glass plate. Vacuum seal, heavy glass, light glass.
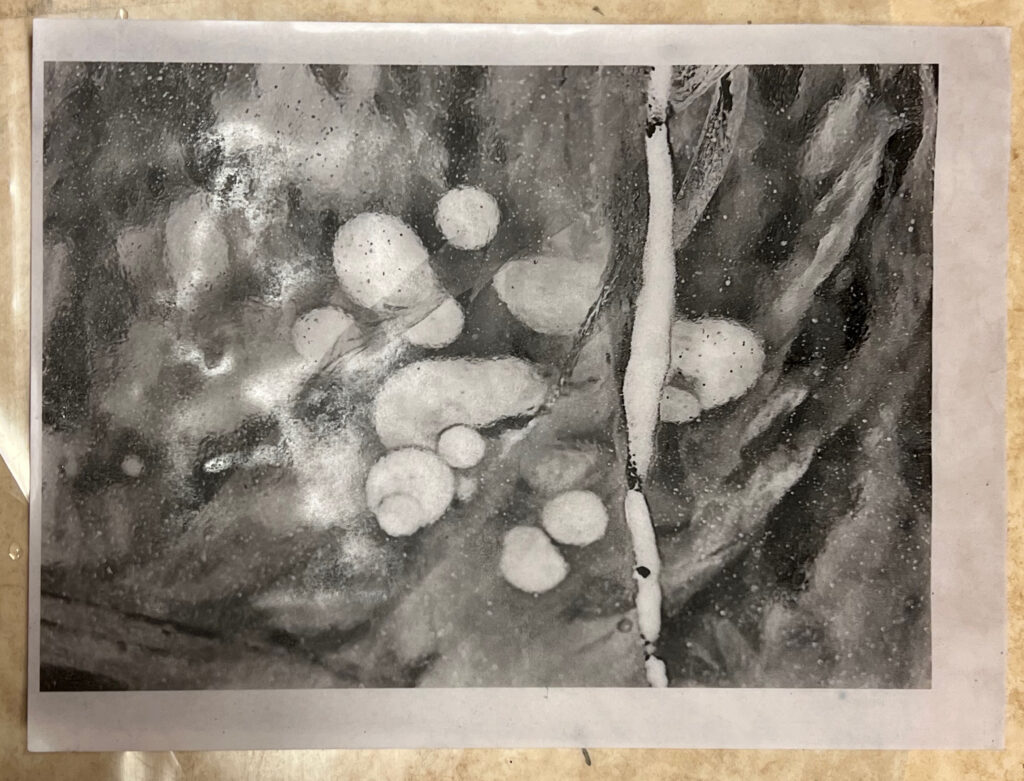
I am now working with three types of negatives. Cyanotype and transparency films, and paper. I also have three types of glass plate. Vacuum seal, heavy glass, light glass.
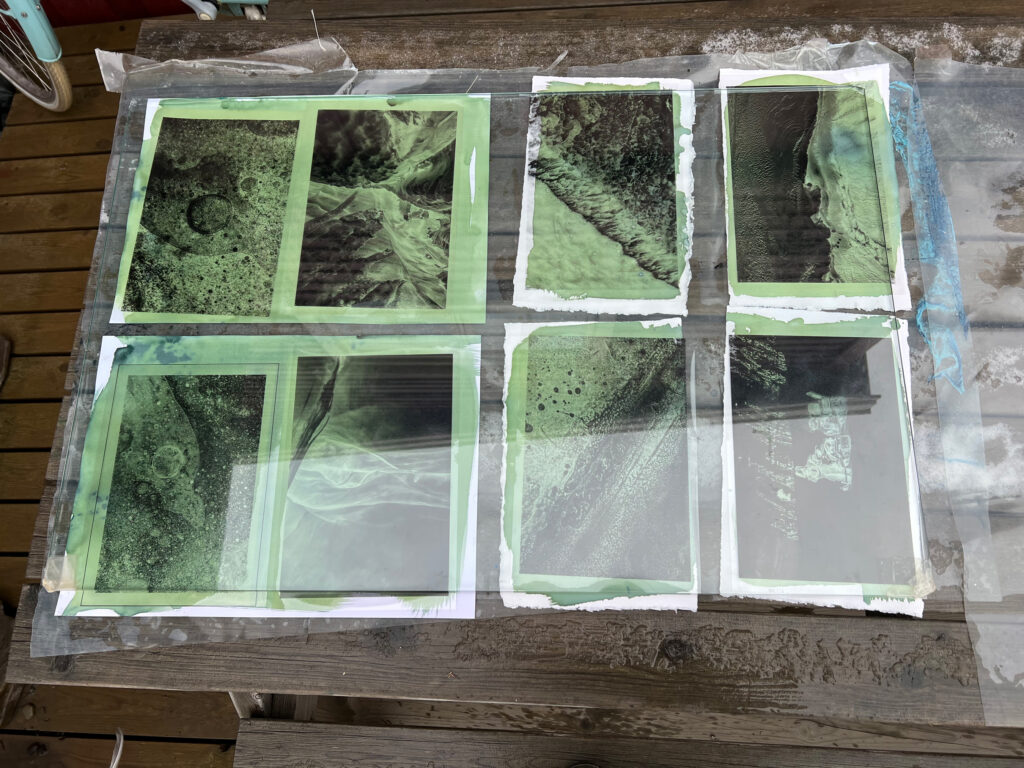
If I want a sharp image I can get that no matter what the negative or paper type with the vacuum press. If I want a fuzzy image, I can control the amount of fuzziness by the type of paper and the weight of the glass. The lighter the glass the more air between the film and the paper and the more “antique” the image looks. I can adjust the evenness of the exposure to create “ghosted” images by moving the image in process so that some parts receive less light than others.
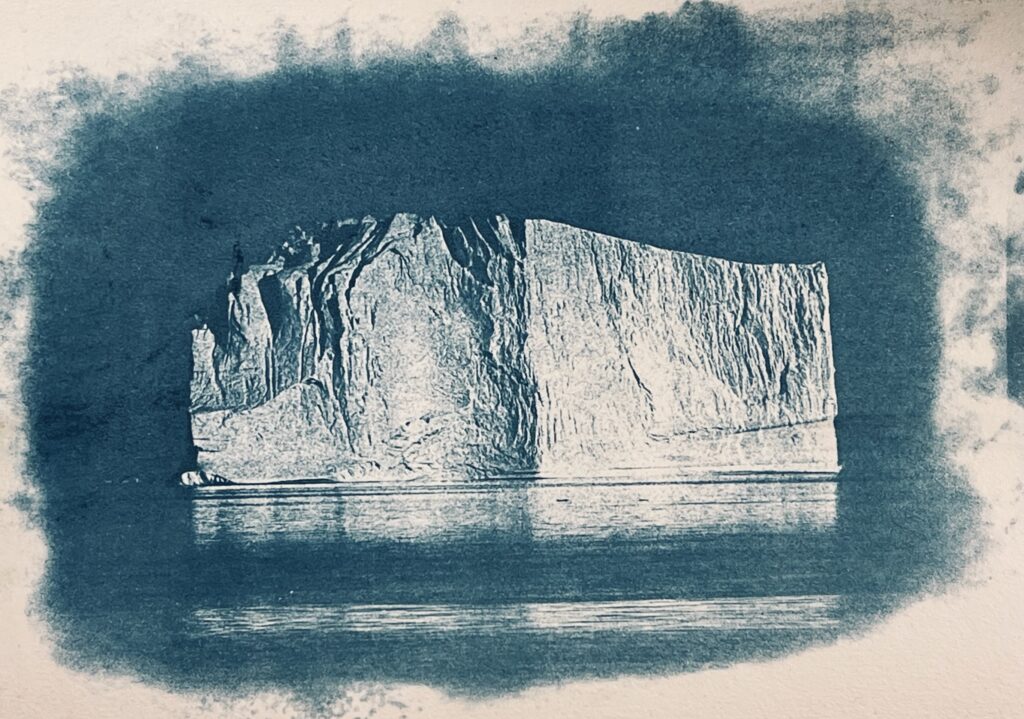
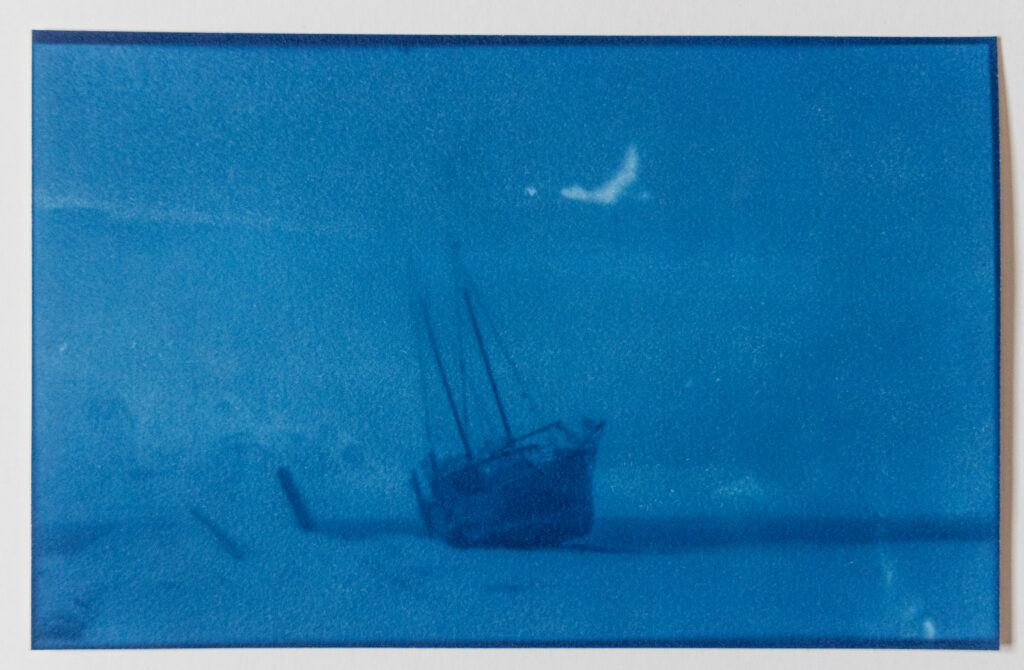
I’ve been working with six year old chemicals, so out of date they are growing a wealth of algae, and that has also affected the images. The entire process and all its moving parts is fascinating. I have some images I’ll make for sale at our Christmas market locally, and I already know how I want to produce those. Other work for other shows next year — that’s more of a mystery. But it’s fascinating, and I’m enjoying the challenge. The process is really what it’s about, at least for me.
I bumped into your photo art on Frames and followed you to your blog. The first I read was about Robert Graves and his erroneous outlook. I was hooked on your mental outlook as well as your artistry. Cudos to you !
Thank you so much! And thanks for following the links! That’s great to hear. Ah Robert Graves. What more can I say? 🙂